
Pixel 5 Android 12 on POCO F1: POCO F1 was launched way back in 2018. Therefore, its been 3 years since POCO F1 was launched. In other words, POCO F1 has become old enough to get any new updates. The last stable MIUI version, POCO F1 has received is V12.0.3.0.QEJRUXM. The latest MIUI version is MIUI 12.5. MIUI 12.5 is based on Android 11 and it is by far the most improved MIUI version. The update mostly focused on System optimisations. According to their claims, the optimised UI will contribute to 22% less CPU usage and also keep the power consumption down by 15% than before. POCO F1 hasn’t received this update officially. They are many speculations running around the Internet over the release of MIUI 12.5 for POCO F1. According to this report, the users of Poco F1 could get the latest version of the MIUI 12.5 update lately.
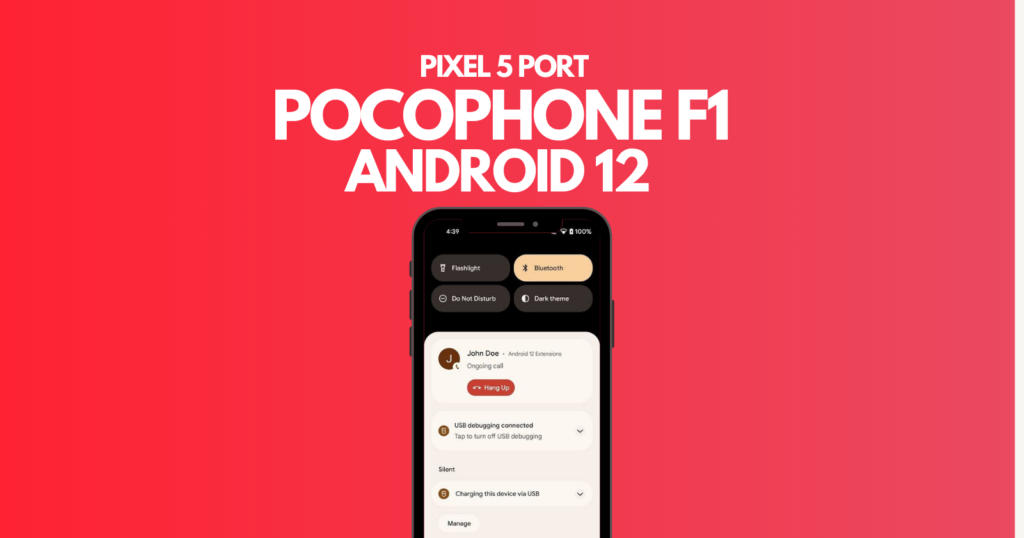
If the rumours are true, MIUI 12.5 might be the last update for POCO F1. If this is true, POCO F1 could go as far as Android 11. However, this might not be the case for Porting ROM developers. A developer from telegram ported stock Android 12 beta 3 from Pixel 5 to POCO F1 successfully. If you want to try Android 12 on POCO F1, you can try this PORTED ROM.
What is a PORTED ROM?
The current ROM that we are seeing now is ported. Porting a ROM is nothing but taking an existing ROM as a base from other devices and making necessary changes and improvements to it. The ROM now can be installed on devices that are not supported by their manufacturers to receive any future updates. For instance, POCO F1 was launched with Android 9 and can go up to as high as Android 11. But, by using PORTED ROMS or Custom ROMS, you can try Android versions that will not be provided officially by your OEM.

Android 12 POCO F1: Developer
This ROM Port came from PocoPixel by #oofgang. They previously made a series of PORTS, especially for POCO F1 & POCO X3 Pro. They are the ones who made the infamous Oxygen OS port for POCO F1. You can follow them on their telegram channel for more support and bug reporting.
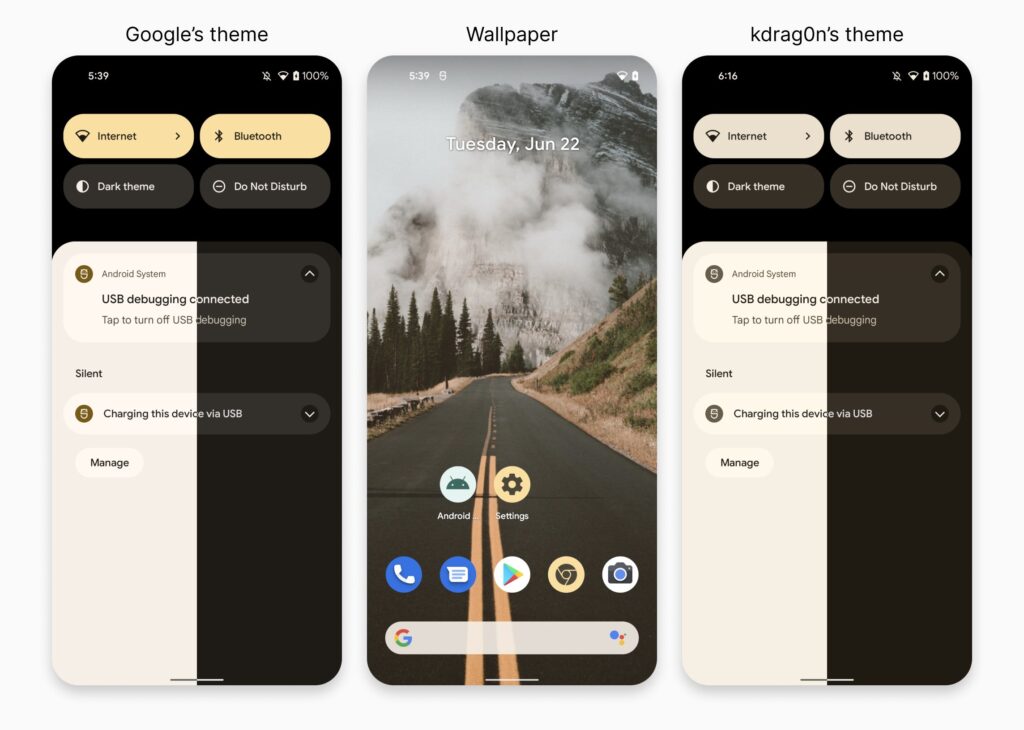
This ROM port is taken directly from Pixel 5. The current version of this Ported ROM is Android 12 (S) | Public Beta 3. As the OS is a direct port from Pixel 5, you can find every exclusive future of it working on your POCO F1. You can go through the changelog, working aspects and bugs of this ROM given below.

Working Features:
- Almost everything
- SDcard Detection
- Bluetooth
- Camera
- Wifi + hotspot
- Calling
- Ambient display
- Screen recorder
- Pixel 5 exclusive features
- OK Google
- Latest Magisk
- Extended Screenshot.
POCO F1 Bootloader Unlock
In this post, I’m going to reveal how this process can be done. To install this Ported ROM in POCO F1, you have to do these two processes first. These are the prerequisites to install this ROM.
- Unlock the bootloader
- Install Custom Recovery
In addition to those, before trying this ROM, here are some gentle warnings for you. Go through them before trying this ROM on your phone.
Unlocking The Bootloader
If you don’t know what is a bootloader, then I encourage you to read this article. To unlock the bootloader of POCO F1, all you need to do is follow the steps given below.
- Download ADB & Fastboot USB Drivers: These are useful for the communication between your computer and your POCO F1.
- Enable USB Debugging and OEM Unlock: To unlock the bootloader, you need to enable the USB Debugging and also need to enable OEM to unlock option. To do these, all you need to do is enable the developer options. You can enable them by following this guide.
-
- On your phone, open the Settings app. Look for the “About” Phone menu and Tap on it
- You may see the device build number/mini version, tap on it multiple times until you see the “You are now a developer” pop-up flashes on the screen.
- If you have enabled the developer option, now go back to settings again
- Open the Additional Settings menu – Developer option
- After that, enable the options “USB Debugging” and “OEM unlocks” there.
- After that, Go back and select “Mi Unlock Status” and click on “Add Account” and give your MI Account details and wait for a minute to bind.
-
- Download Mi Unlock: After that, you can download and install the software from the link given below.
- Unlocking Bootloader: After that, enter your device in fastboot mode by pressing the Volume down + Power button and connect your device to your PC. (Make sure the drivers are downloaded and enabled in your PC). Click the Unlock button. You will be prompted with a new message where you need to click on the Unlock anyway button. This will commence the unlocking process and once the process is complete, you will see a message stating “Unlocked successfully”.
Installing TWRP Custom Recovery
Mobile recovery is a built-in program on mobile devices. It will be installed by the manufacturer itself to install the operating system. Unlocking the bootloader helps you to override this stock recovery with the custom recovery. Custom Recoveries are similar to your stock recovery. They can also be used to install operating systems. However, there’s a slight difference between these two. The Stock recoveries on your phones were developed and deployed by the device manufacturers. On the other hand, Custom Recoveries were developed by coding enthusiasts and ROM developers. For instance, TWRP (Team Win Recovery Project) and Orange Fox Recoveries fall under this category. You can use these recoveries to install some custom ROMs in a zip format.
- This ROM requires a special TWRP Recovery. Normal TWRP won’t work. Therefore, download the prescribed TWRP recovery file given below.
- After that, go to fast boot mode and connect your phone to your PC. Type “ADB devices” to check if your device is connected or not.
- Flash this file using the command prompt. You can do this by using the following command.
- >>fastboot flash recovery twrpfilename.img
- >>fastboot reboot recovery
Android 12 POCO F1: Installation
- After that, to install this ROM, you need to download the required files given below.
- Once you download these files, copy them on your SDCARD. Flashing the OS from internal storage is not recommended.
- Switch off the phone and after that enable recovery mode(TWRP) by pressing the PowerUp + Volume Up button.
- After that, Select “Mount” and check the options Data, Cache, Dalvik, System and wipe them all.
- Once you wipe them all, choose Install option and locate the firmware zip file. Make sure to flash the firmware zip befor installing the OS file.
- After that, go back and choose install option and locate the OS file from SD Card.
- After that, press “Reboot to system” and the OS will boot up. Enjoy Android 12 on POCO F1.
Follow our official Telegram Channel for more interesting posts and updates like these.

