

AMP: Accelerated Mobile Pages or simply known as AMP is an HTML framework designed by Google. It was designed to speed up loading pages especially on mobiles. It’s an open-source framework. AMP was launched in 2015 and since then everyone is using it to boost up web page loading performance.
AMP restricts heavier elements of web pages such as HTML/CSS, JavaScript. In other words, by doing this, AMP can render web pages must faster than traditional web pages. In addition to that, AMP also serves the web pages by using its cache called Google AMP cache.

What is Google AMP Cache? How does it work?
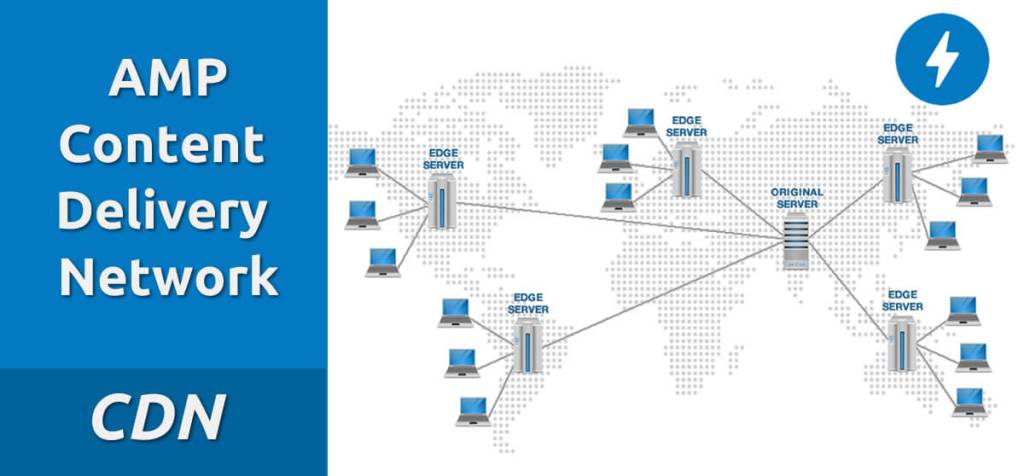
Have you ever saw a bolt icon on the web page while browsing?. It means the website is powered by AMP. Google AMP Cache is a proxy-based content delivery network (CDN) for delivering valid AMP documents. Therefore, it delivers the AMP pages at a blazing speed no matter where the requested user is. CDN generally works by replicating the data and stored it in remote servers all around the world. The whole process of storing and serving the web pages follows 4 steps.
- Validating the documents: In this stage, Google checks if the page is eligible for AMP serving. Google follows certain rules and they must be satisfied to make the web page AMP powered.
- Caching the resources: Once the page is validated, Google also caches the resources embedded on that web page. For instance, the attachments like images, fonts, styles.
- Performance Optimization: In this stage, some optimization was added to make the page more lightweight and easy to process.
- Rewriting URL: This is the final stage and Google will rewrite the URL to normalize parsing the web page. This is the reason why you see different URL on AMP web pages. This is the stage where Google can take control over the web pages served as AMP.

Why Google is Facing Heat Due to AMP?
Despite bearing some advantages, AMP has been widely criticized for giving further control over the web to Google. As AMP Pages were served especially by Google, publishers started losing control over their content. For instance, if you write a post and published it. The next day, you might want to make some changes to it. However, they were already indexed by Google. Those changes might not get reflected easily once they are indexed by Google.
Google updates its cache promptly. However, the Blogging world is volatile. Sometimes the situations might put publishers and their content in a jeopardy and they need to be updated ASAP. They can’t wait to let Google invalidate those outdated pages and update them accordingly. They need to take action and force update those old AMP pages being cached by Google.
Flushing AMP Cache is Tricky:
AMP Cache Update: Flushing and updating the cache stored by Google is a bit tricky. As Google possess control over the cache, publishers can’t simply update it with a single click of a button. However, you can do it now by using simple steps or by using some plugins as well. Even Google itself stated the method to flush the AMP Cache and replace it with a new one. You can go through that article here. However, that didn’t quite help me.
My blog has AMP and I used to face a lot of problems updating the cache. However, I found some ways to flush the AMP cache forcefully. In this article, I’m going to reveal them all.
1. Through Search Console
The first obvious method to update AMP cache is to go through the search console of your website. If you are a WordPress user, you might have some idea about the Google Search Console already. It is a tool used to track the issues and performance of your website. Open it and follow the steps below
1. Copy the post URL that you wanted to update the cache.
2. After that, head out to your search console and paste the URL in the search box right where it is showing “Inspect the URL”.
3. Wait for a minute and after that it will show the index status of your URL
4. Select the AMP Page option below. After that, copy the AMP URL of your post.
5. Paste it in the search box and do the process again.
6. After that, you’ll get the “Request Indexing” option. Tap on it to index the AMP Page again
Cons: By using this process, you can be able to flush the AMP Page. However, the duration to update might be ranging from 2-5 days.
2. Purge AMP CDN Cache Plugin
The second method to update the AMP cache is through a plugin called “Purge AMP CDN Cache”. This plugin is not available in WordPress. You can download the plugin here. By installing this plugin, you can get the option to manually purge the AMP cache through WordPress editor.
Cons: However, the plugin is not free. It cost somewhere around 19-99$ USD based upon the number of websites you are wishing to use it.
3. By using Update-Cache Request
In this method, you can update the AMP cache by using a browser. For instance, Chrome and Firefox will do.
1. Just copy the URL you want to update the cache. Don’t copy the HTTPS:// part. Start from the website name onwards and copy up to the post address. For instance, you need to copy the AMP URL of your post like this.
URL: yourwebsite.com/category/tech/iphone-12-specsbreleased/amp2. Open a web browser. After that, paste the URL right after the given URL below like this.
URL: https://cdn.ampproject.org/c/s/yourwebsite.com/category/tech/iphone-12-specsbreleased/amp
3. Hit enter. After that, the response will take some time and will redirect to the updated content on your website.
4. Check for the updated information. If it’s there, the AMP cache of yours was successfully flushed and updated with the new one.
Cons: Bulk update of URL’s is not possible with this method.
That’s it for now. We hound around the Internet for interesting guides like these. If you find this helpful and interesting, be sure to bookmark us and return. Follow us on Telegram for more info uninterrupted updates.